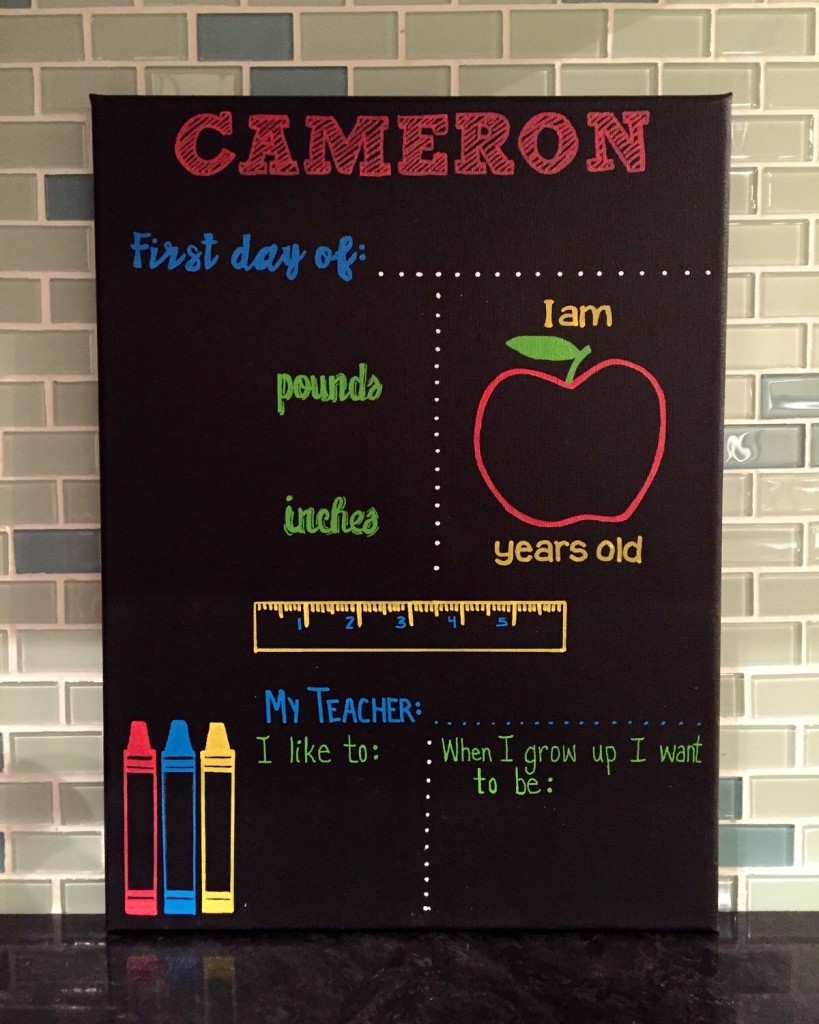
It’s hard to believe another year has gone by and tomorrow begins the first day of a new school session. The kids are all abuzz and filled with restless energy as they are all settling in to bed for one last good night’s sleep before the 2016/2017 school year begins. What a blast it was designing so many “First Day of School” signs! They are a combo of acrylic paints, specialty ink and of course CHALK! Check out a few of the finished products! I think we received a record number of orders in a very short time frame. Definitely a very popular number one seller! Next up…..Baby’s First Halloween photo prop signs!
Category Archives: BLOG
Fall Leaf Crafts
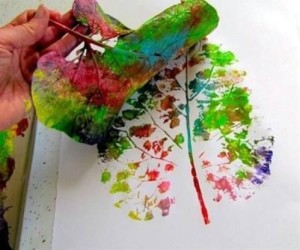
Your kids are going to love getting down and dirty with this craft! Let them use their creative side by painting
leaves of various shapes and sizes. Then before the paint dries press the leaves down on a piece of paper.
What you end up with is a painted tree! The veins in the leaves make up the
branches and your child can paint a tree trunk afterwards. Super cute and easy craft!
4 simple items are needed: 1. Leaves 2. Paint 3. Paint brushes 4. Paper

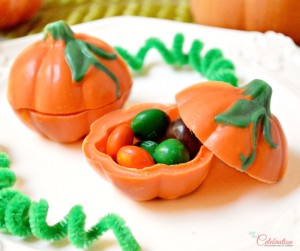
Candy Pumpkin Boxes – AMAZING!

What an absolutely fantastic and delicious idea, perfect for the Halloween season! We are definitely doing this in our household this Halloween.
This awesome kitchen project uses Wilton candies melted into molds which are then filled with candies and then topped with another candy lid to keep all the candy goodies safe inside.
Check out the recipe below!
Candy Pumpkin Boxes
1. Melt green and orange Wilton candies in the microwave in separate bowl
2. Spoon melted candy into Wilton 3D candy molds
3. Place in fridge to cool and set (about 45min to 1 hour)
4. Once set, remove from fridge and carefully remove candy pumpkins from mold
5. Fill with candies of your choice (M&Ms, skittles, nerds etc)
Fun with Coloured “Sand”
Who remembers this one from when they were a kid?! This cheap, DIY activity provides great sensory integration for your little ones. They get to work with different colours and textures and ultimately it ‘s a chance to get their creative juices flowing.

And the best part is all it requires is two main ingredients:
1. Salt
2. Coloured Chalk
Rub different colours of chalk with the salt to create a variety of different coloured “sands”. Then have the kids pour varying amounts of “sand” into a clear glass or plastic jar or can. Try tilting or shaking the jar at different points to get different effects and swirls throughout the layers.
Another variation on this activity is to create some designs with liquid glue on a piece of paper and then sprinkle the “sand” on the picture, and voila, the kiddies have a beautiful piece of art work!
Can’t wait to do this one with my kiddos!
Fun With DIY Birthday Decor!
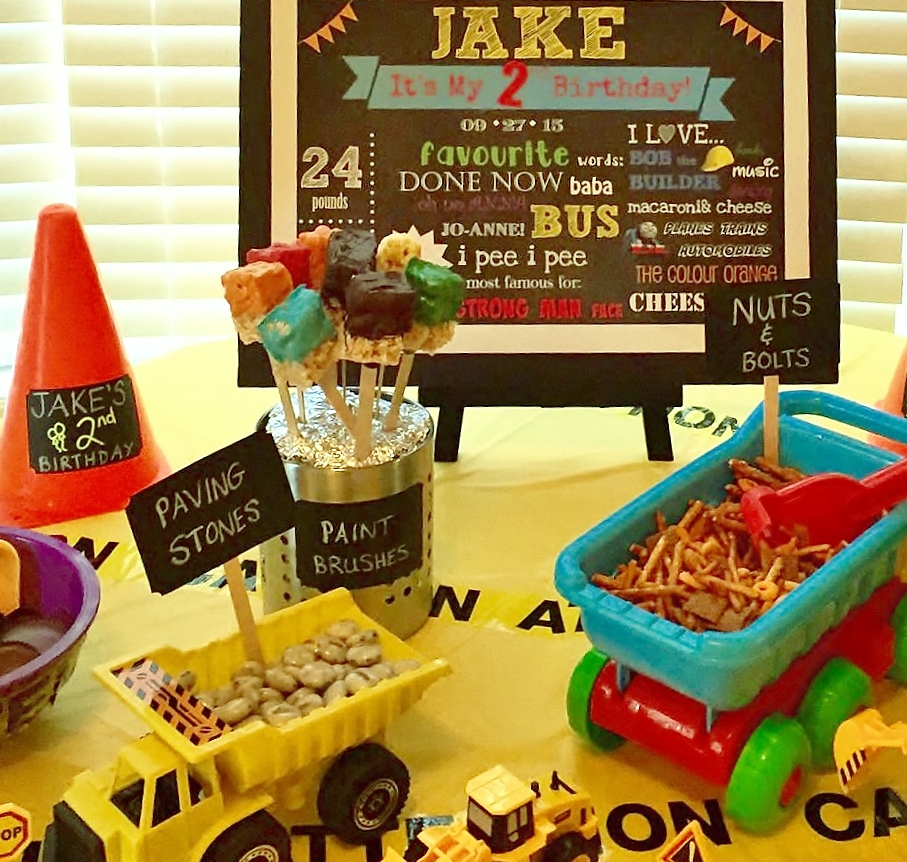
Who would have thought it would be this simple and CHEAP to create this awesome Bob the Builder Construction themed birthday party for my 2yr old son! Most of the items were bought at the local dollar store. I made everything from Paving Stones, Bricks, Logs and Nuts and Bolts using different kinds of chips and candy and placed them all in the backs of various dump trucks. However, my favourite (and I think everyone else’s fav as well) was the totally awesome Rice Krispie Square paint brushes!
Rice Krispie Square Paint Brush Recipe
1. Follow Rice Krispie Square recipe on the box
2. Once cooled and hardened in the fridge, cut into squares for the brush portion
3. Slide a popsicle stick in one end of your rice krispie square to be your stick portion of your paint brush
4. Next, for the fun part…melt different colours of Wilton brand (or any other brand) chocolate melts in the microwave until smooth
5. Use a spoon to drip your different “paint” colours over your “brushes”
6. Lay on a baking tray and place in the fridge for candy “paint” to harden
7. Voila! Rice Krispie Square paint brushes!
Fun with DIY Homemade Non-toxic Playdough!
Do you ever find that you are running out of ideas for things to do on those rainy weekends in the fall??? There’s only so many puzzles you can do or legos to build. Here’s another AWESOME, super easy and FREE activity you can do with your kiddos. I did this with my little munchkins and they absolutely loved it. Better yet, it uses all safe, non-toxic ingredients you probably already have in your kitchen cupboard! I think I made my batch more than a month ago and it is still as soft and fresh as the day I made it. Just be sure to store it in a tight sealed ziplock bag or tupperware.

Here’s the recipe:
1 cup flour
1/3 cup salt
1/2 cup water
2 teaspoons canola oil
Enjoy!
Hello world!
Thanks for checking out our MAJOR Moments website! Our goal is to help you capture and preserve your memories from all of your MAJOR Moments. Unique and personalized chalkboard creations can be customized just the way you like! Continue to check out our blog as it becomes a portal for unique craft and design ideas that are easy and fun for the whole family!


